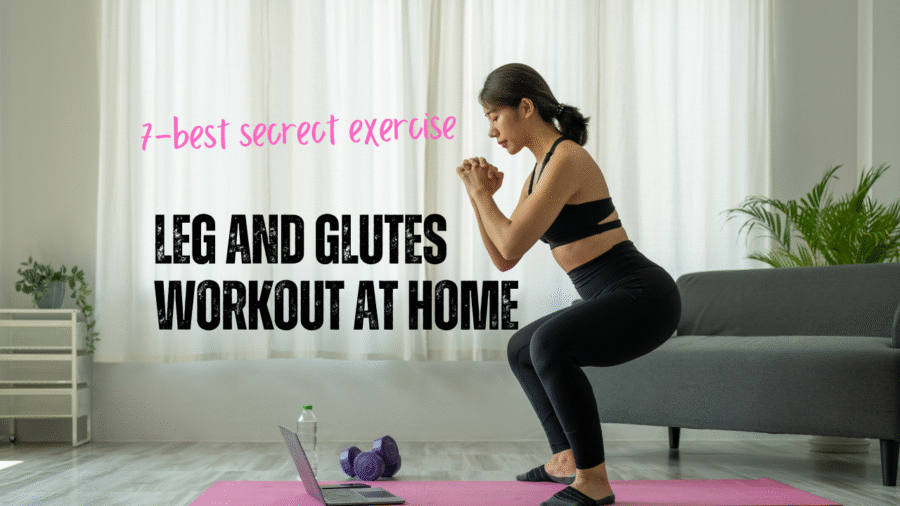
Best Glutes Workout Thinking about working on your posterior to get it looking great and giving you the confidence of a queen? There is just something special about that feel-good factor, isn’t there, which comes uniquely from having a strong backside.
In leggings at the gym or house parties, it doesn’t matter where you show off those glutes as long as they look good! I’ve got to say I’ll never forget my first proper glute session– afterwards my legs felt so weak I nearly dropped my coffee while trying to hold a dumbbell (typical me)! But wow did I feel good.
But finding the best exercises? That was a hot mess of trial and error. Today, I’m spilling the tea on the top 5 booty exercises—Romanian deadlifts, donkey kicks, hip thrusts, back lifts, and side-lying lifts—that’ll have your glutes popping in no time. These are perfect for us ladies, backed by science, and oh-so-doable. Let’s dive in and slay that booty workout!
Why Your Glutes Deserve All the Love
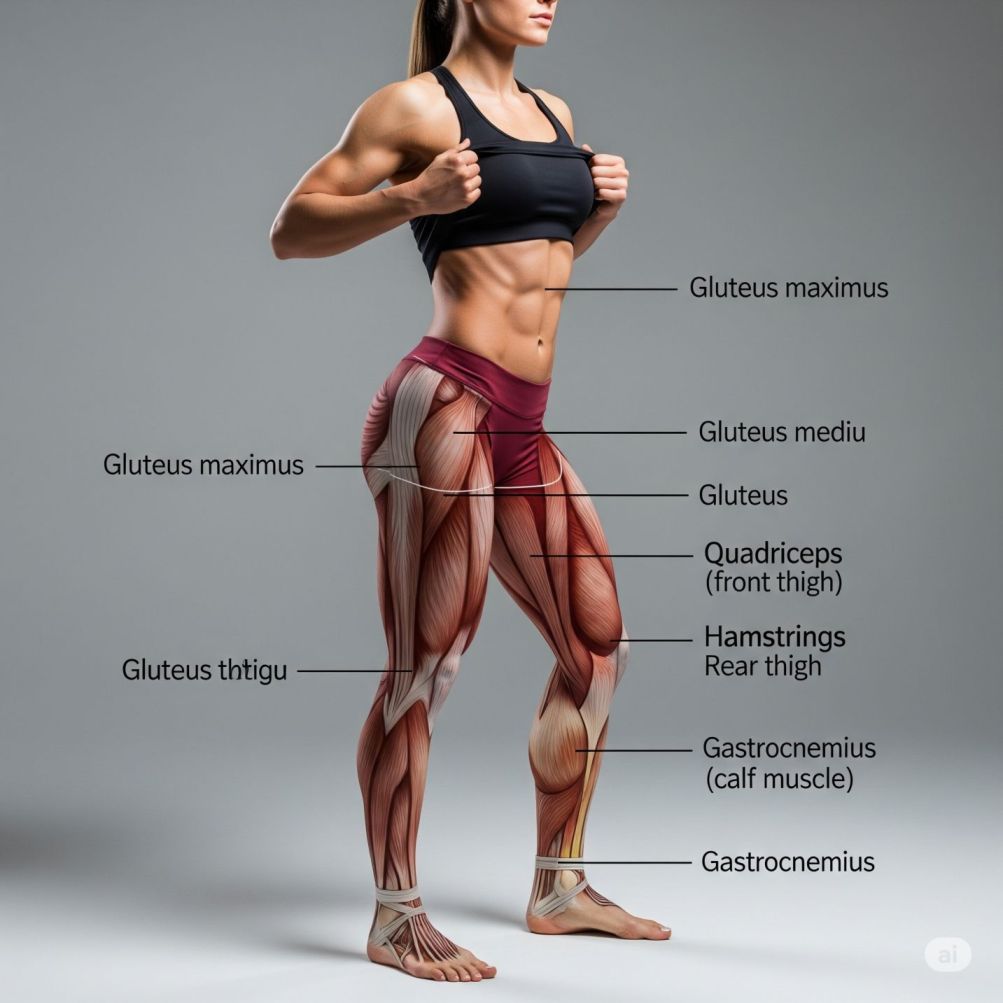
Your glutes– those big muscles in your butt– do way more than make your jeans look good. They also help stabilize the hips, provide power when running, and prevent injuries such as knee pain.
The American Council on Exercise has found that having strong glutes can improve sports ability– and even posture!
Got weak glutes? This may cause issues like lower back pain or poor balance.
I used to think cardio was the key to a toned butt. Spoiler:
I was wrong. I was that girl jogging endlessly, wondering why my butt workouts It was like my glutes woke up and asked “Hey, are you there?” to me after discovering strength exercises.
Have you ever experienced an epiphany– that all along you’d been mistaken about your workout routine? If so, then read on because I may be able to help!
hassle and get your glute exercises on point. Ready to feel the burn?
What You Need for a Fab Glutes Workout
You don’t need a fancy gym to sculpt your dream booty. Here’s the lowdown on what’ll make your glutes workout pop:
- Dumbbells or a kettlebell: Start with 10-20 lbs. I snagged mine on Amazon, and they’re my workout BFFs.
- Resistance bands: Loop bands (like Fit Simplify’s) add serious fire to your booty exercises. Worth every penny.
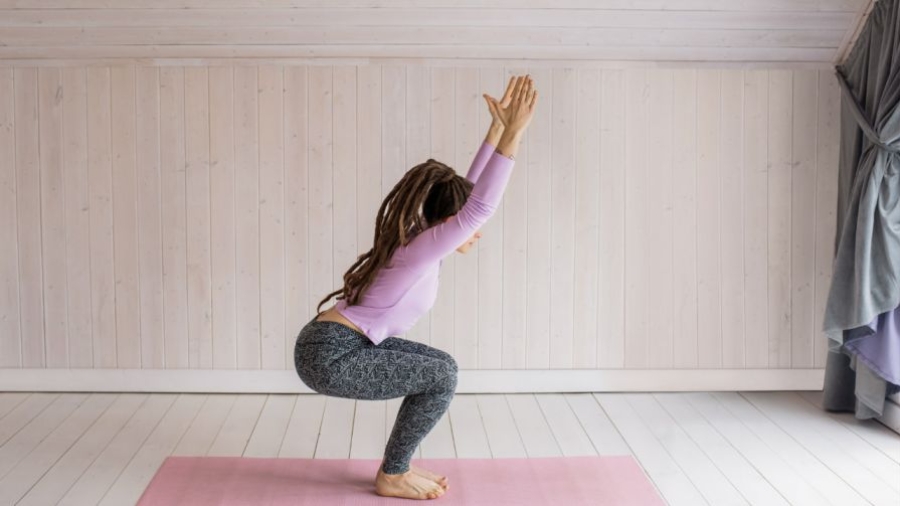
- Yoga mat: For floor moves—trust me, your knees will thank you. I learned hardwood floors are not glute-friendly the hard way.
- Water and tunes: Hydrate and blast some Lizzo to keep the vibes high.
Pro tip: Try 2025’s hot fitness apps like FitOn or Peloton’s digital platform for guided glute training exercises. They’re loaded with booty-focused plans. Oh, and if you’re like me and once left your water bottle at home—cue the dry-mouth panic—keep it close!
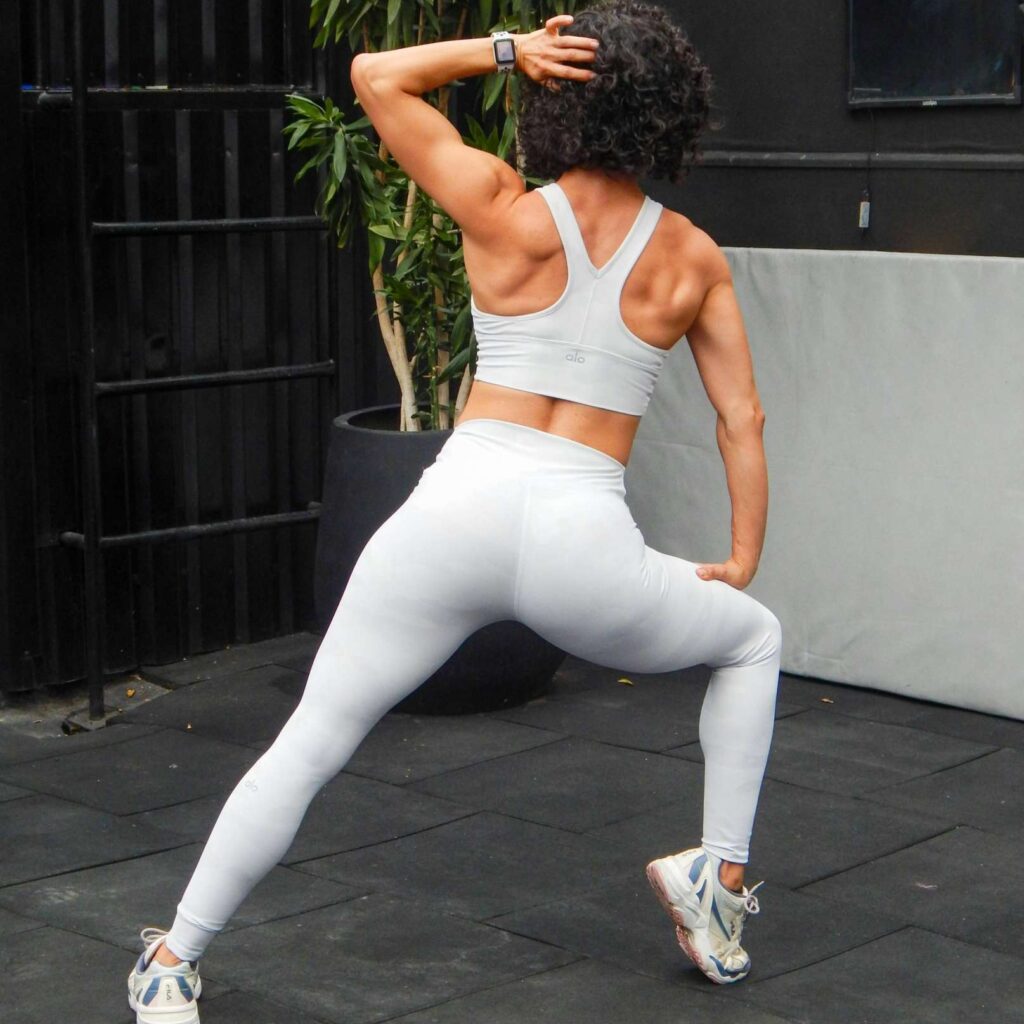
Top 5 Booty Exercises for Fast Results
Here’s the good stuff: five glute exercises that’ll lift, tone, and strengthen your backside. These moves, backed by research from the Journal of Strength and Conditioning Research, target your glutes from every angle. I’ve sweated through them all, and let me tell you—they deliver. Let’s break it down!
1. Romanian Deadlifts (RDLs): The Booty-Lifting MVP
Romanian deadlifts are like the fairy godmother of butt workouts—I remember trying Romanian Deadlifts for the first time: As I lifted the weights (a little unsteadily- those darn shoelaces kept coming undone!), I felt fantastic— like someone who really knew what she was doing.
There’s something about this exercise that just can’t be beat if you want a high, round butt.
How to Do It:
- Grasp a barbell or dumbbells in front of your thighs with your feet about hip-width apart.
- Now hinge at the hips– as if bowing– while pushing the rear backwards; maintain a straight back throughout.
- Lower the weights until you feel that nice hamstring stretch (around mid-shin).
- Then return to standing, really squeezing those glutes hard at the top.
- Repetitions? Try 3 sets of 10-12. Take a 60-second breather between sets.
Pro Tip: Imagine showing off your fave jeans—that’s the hip hinge vibe. Use a mirror to check your form. I did, and it saved me from looking like a confused flamingo.
Why It Works: RDLs stretch and strengthen your gluteus maximus, giving you that perky, lifted look. They’re a staple in any glutes workout.
Motivation Boost: You’re carving out a stronger you—keep rocking it!
2. Donkey Kicks: The Sassy Glute Blaster
Donkey kicks are the ultimate booty workout move—fun, effective, and perfect for home or gym. They target your gluteus maximus and get that burn going fast. The first time I tried these, I was at home, music blasting, and I swear my cat judged my form. But the soreness the next day? Worth it.
How to Do It:
- Begin on all fours. Hands should be directly under your shoulders and knees below your hips— this is the starting position.
- Now extend one leg back, lifting it so your thigh is parallel to the ground. Bend the knee at 90 degrees; as you do this, move the sole of your foot towards the ceiling.
- Lower the leg back down so that it almost touches the floor with its toes as they come down– but don’t let them rest.
- How many? Try for three sets of 15–20 repetitions on each leg.
- Rest briefly for about thirty seconds between sets- it’s good to take a little time to catch your breath!
Pro Tip: For that additional intensity, position a resistance band just above your knees.
- Initially I began without one but then added it— feeling my glutes work harder was truly satisfying!
Why It Works: Donkey kicks concentrate on your gluteal muscles assisting strength and toning without joint strain.
Motivation Boost: Perform each movement with purpose; you are actively shaping your derriere!
3. Hip Thrusts: The Queen of Glute Gains
If glute exercises had a crown, hip thrusts would wear it. They’re backed by studies (like one from the Strength and Conditioning Journal) for max glute activation. I was skeptical at first—sitting on the floor with a barbell? Weird. But after one set, I felt my glutes light up like a Christmas tree. Total game-changer.
How to Do It:
- First, find a comfortable spot on the floor– maybe near a bench backrest. When you’re ready, place a barbell or dumbbells over your hips.
- Using a pad can make this feel nicer, especially with barbells! Now bend your knees so that your feet are flat on the floor– about shoulder-width apart.
- Push down through those heels as you lift your hips up; think of creating one strong straight line from shoulders all the way to knees. At the very top give your glutes a good squeeze (hold for 1-2 seconds).
- When lowering down, take your time going back to start position. Do three sets of 10-12 reps– rest for 60 seconds between each set.
Pro Tip: Start with bodyweight to nail form. I did this for a week, and it saved me from awkward gym moments.
Why It Works: Hip thrusts target your gluteus maximus like nothing else, building size and strength fast.
Motivation Boost: Picture your glutes saying, “We’re here to slay!” You’ve got this!
4. Back Lifts: The Sneaky Glute Strengthener
Back lifts (aka prone glute lifts) are like the unsung heroes of booty exercises. They strengthen your lower back and glutes, perfect for that full-backside glow-up. I started doing these during a Netflix binge, and let’s just say my couch became my gym. Multitasking for the win!
How to Do It:
- Find a comfortable mat and lie face down. Let your arms rest beside you or try placing them under your head.
- Using your glute muscles, lift both legs slightly off the floor– but remember to keep them straight!
- Hold for one or two seconds. Focus on that glute squeeze before lowering back down slowly.
- How many to do? Three sets of 12-15 is a great target.
- And rests? Just take about 30 seconds between each set– nice and easy.
Pro Tip: Keep your movements slow to avoid swinging. I rushed these once and felt more like a flopping fish than a fitness queen—lesson learned!
Why It Works: Back lifts target your gluteus maximus and lower back, improving strength and stability.
Motivation Boost: You’re building a rock-solid foundation—keep shining!
5. Side-Lying Lifts: The Curvy Hip Sculptor
Side-lying lifts are your secret weapon for a rounded, hourglass shape. They hit your gluteus medius, giving your hips that curvy pop. I love doing these while chatting on the phone—until I accidentally knocked over my water bottle mid-set (yep, classic chaos!).
How to Do It:
- Position yourself on your side, lying down, with legs straight– one arm can rest on the ground or support your head.
- Now lift that top leg- reaching up and keeping it straight as you also point your toes forward.
- Bringing it back down slowly means you stay in control (want more challenge? Try using a resistance band).
- Do 3 sets of 15-20 reps for each leg– take a 30-second break between sides.
Pro Tip: Keep your hips stacked to avoid rolling backward. I used a wall for balance at first—total lifesaver.
Why It Works: These lifts sculpt your side glutes, enhancing curves and hip stability.
Motivation Boost: You’re shaping that dream silhouette—go get it, girl!
Sample Glutes Workout Plan
Ready to put these booty workout moves into action? Here’s a 30-minute glutes workout plan you can do 2-3 times a week. It’s beginner-friendly but scales up for pros. I’ve been loving this routine—it’s like a love letter to my glutes!
| Exercise | Sets | Reps | Rest |
| Romanian Deadlifts | 3 | 10-12 | 60 seconds |
| Donkey Kicks | 3 | 15-20 per leg | 30 seconds |
| Hip Thrusts | 3 | 10-12 | 60 seconds |
| Back Lifts | 3 | 12-15 | 30 seconds |
| Side-Lying Lifts | 3 | 15-20 per side | 30 seconds |
Time Estimate: About 25-30 minutes, incorporating a 5-minute warm-up (perhaps leg swings or high knees) and finishing with a 5-minute cool-down (foam rolling is just the thing; it feels like giving your glutes a hug).
Check out this foam rolling guide for tips.
Pro Tip: Use the Strong app (a 2025 fave) to track your progress. It’s like having a personal trainer in your pocket. And if you’ve ever forgotten to stretch like I did—ouch, the soreness!—don’t skip it.
Common Mistakes to Dodge
Even the best glute exercises can flop if you’re not careful. Here’s what I learned from my own facepalm moments:
- Skipping the glute squeeze: At the top of moves like hip thrusts, clench your glutes like you’re holding a winning lottery ticket. I used to skip this and wondered why my butt wasn’t growing.
- Rushing reps: Slow and controlled is the vibe. I sped through donkey kicks once and felt nothing—total bummer.
- Bad form: Keep your back straight during RDLs and core tight for side-lying lifts. I learned this after wobbling like a tipsy giraffe in the gym.
- No warm-up: A quick 5-minute warm-up prevents injuries. I skipped it once and tweaked my hamstring—not cute.
Fuel Your Glutes with Smart Nutrition
Your glutes workout needs fuel to shine. Here’s how to eat for a perky booty, based on my own kitchen experiments:
- Protein is Queen: Aim for 0.7-1g per pound of body weight daily. Think eggs, salmon, or tofu. My go-to? A vanilla protein shake post-workout—tastes like dessert!
- Carbs for Power: Oats, sweet potatoes, or brown rice fuel your lifts. I used to ditch carbs, thinking they’d bulk me up—wrong! They’re glute gold.
- Healthy Fats: Avocado, almonds, or olive oil aid recovery. I add almond butter to my smoothies for that creamy yum.
For more, check out the American College of Sports Medicine—their nutrition tips are legit. Oh, and if you’ve ever binged on junk food post-workout like I did (hello, pizza regret!), balance is key.
Conclusion: Own Your Booty Glow-Up
Ladies, your glutes workout journey is about to level up. These five booty exercises—RDLs, donkey kicks, hip thrusts, back lifts, and side-lying lifts—are your ticket to a stronger, perkier backside.Feeling good in the gym is amazing– but the best bit is how strong it makes you feel.
Perhaps gyms seem like strange places full of even stranger people (who have never changed a light bulb where you live).
True, navigating weight areas can be tricky: I’ve tripped over things there as well. But remember: You are stronger than any machine or free weight!
Begin with small steps, keep going, and see your self-belief grow– along with your strength.
Have a favorite exercise for building glute strength? Do share it below. For more ideas about staying fit, watch this space!
check out my Beginner’s Strength Guide or Home Workout Tips. Now go crush that booty workout, queen!
Meta Title: Best Glutes Workout: Top 5 Booty Exercises for Fast Results
Meta Description: Get a toned, perky butt with these 5 glutes workout moves! Perfect for women, try RDLs, hip thrusts, and more for fast results. (140 characters)