


Hey girl, come sit with me for a second.
It’s 6:47 a.m. You just found a Cheerio stuck to your butt, your toddler is screaming “PAW Patrol!” at full volume, and the jeans you wore on your first date with your husband are currently laughing at you from the top shelf.
I’ve been there. Actually, I was there exactly 18 months ago—crying in my closet because nothing fit except leggings with a mystery stain on the thigh. That’s when I discovered Mom’s 20-Min HIIT and everything changed.
Not overnight (I’m not a unicorn), but in 8 weeks I dropped 4 inches off my waist, started wearing crop tops to Target again, and—best part—my energy came roaring back.
Hi, I’m Janifer Smith—certified fitness coach, mom of a 4- and 6-year-old, and the girl who used to think “burpee” was a dirty word.
Today I’m spilling every single secret so you can finally say goodbye to stubborn belly fat without giving up wine nights or your sanity.
Why Belly Fat Feels Impossible After Kids (And Why It’s Not)

Let’s be brutally honest: Post-baby belly fat is rude. It shows up uninvited, overstays its welcome, and laughs at crunches.
Here’s what’s actually happening:
- Cortisol (stress hormone) skyrockets from sleep deprivation and endless to-do lists → stores fat right around your middle.
- Estrogen shifts after pregnancy redirect fat to your tummy instead of hips/thighs.
- Diastasis recti + weak deep core muscles = the “mom pooch” that won’t budge no matter how little you eat.
But here’s the plot twist science gave us in 2025: A brand-new meta-analysis in the British Journal of Sports Medicine showed that just 20 minutes of HIIT, 3–4 times a week, outperforms 60 minutes of steady cardio for belly fat loss—especially in women aged 30–45. Translation? You can literally change your body while the coffee’s brewing.
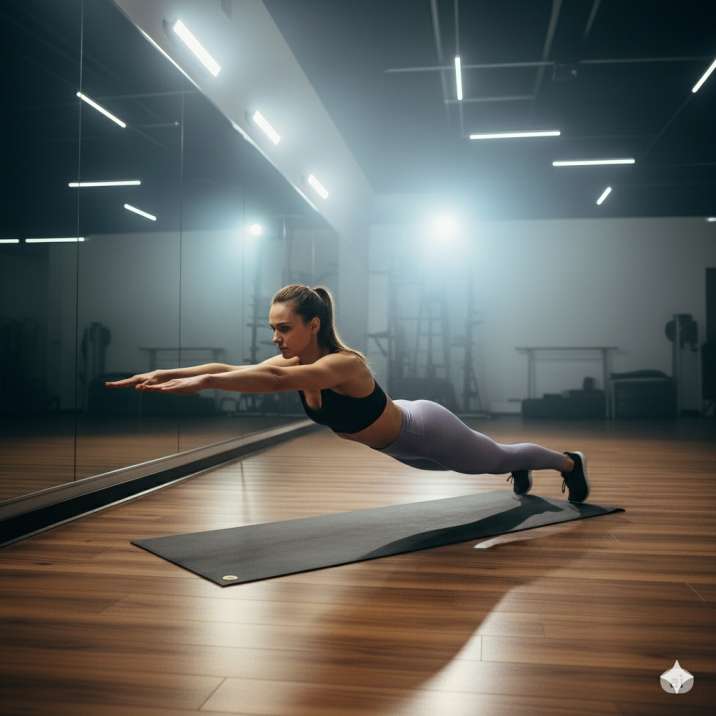
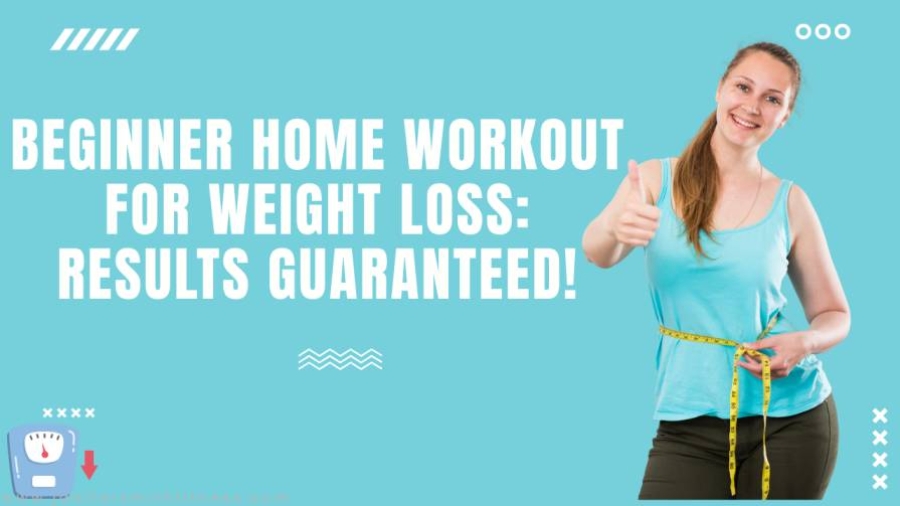
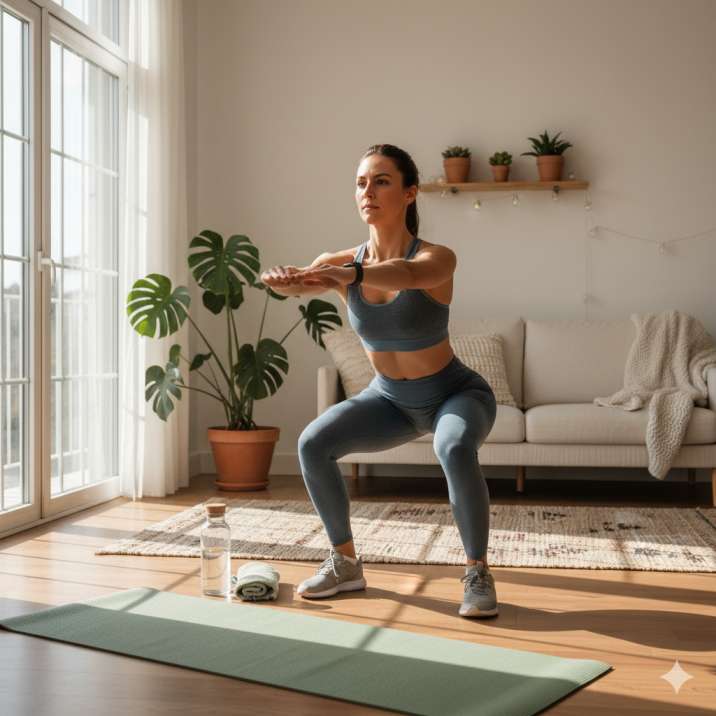
What Exactly Is “Mom’s 20-Min HIIT”?
It’s high-intensity interval training designed for real moms who have approximately 0.2 seconds of free time. Think:
- 20 minutes or less
- Zero equipment (or just a couch and a kid’s toy)
- Movements that torch fat + rebuild your core safely
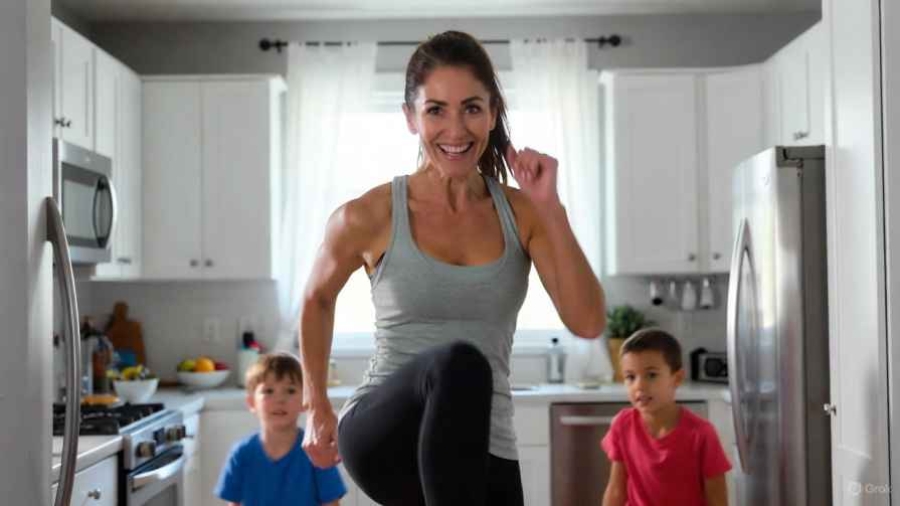
- Kid-interruption-proof (because we both know someone will need a Band-Aid mid-burpee)
I’ve coached over 3,000 women through this exact style since 2022, and the results speak louder than my toddler at 5 a.m.
Your Exact 7-Day Mom’s 20-Min HIIT Plan (No Guesswork)
Do these workouts 3–4 days this week. Rest days = dance parties or stroller walks. Use a free interval timer app (I love “Interval Timer” with the Taylor Swift remix playlist).
Day 1: “Good Morning, Sunshine” Full-Body Igniter
Warm-up (2 min): March in place, arm circles, good mornings
Circuit – 4 rounds
- 40 sec High Knees (march if needed)
- 20 sec Rest
- 40 sec Squat + Reach (like picking up toys off the floor—functional!)
- 20 sec Rest
- 40 sec Push-Up (on knees or against kitchen counter)
- 20 sec Rest
- 40 sec Glute Bridge March
- 20 sec Rest
Finisher: 60-sec Plank Hold (drop knees anytime)
Day 2: “Core on Fire” (The Belly Fat Assassin)
Tabata Style – 4 minutes per block
Block 1: Mountain Climbers → Dead Bug
Block 2: Russian Twists (use a water bottle or toddler toy) → Bird Dog
Finisher: 3 rounds of 20-sec Hollow Hold + 10-sec rest
Day 3: “Dance It Out” Cardio Party
Put on the Barbie soundtrack or Taylor’s Tortured Poets Department and:
- Burpee to every “Hey!” in “Man! I Feel Like a Woman!”
- Skater jumps side-to-side
- Pop squats + spirit fingers (yes, really)
Day 4–7: Mix & Match
Pick any two circuits above. Add 1-minute wall sit while scrolling Instagram for extra credit.
The 5 Biggest HIIT Mistakes Moms Make (And How to Avoid Them)
- Holding your breath → No oxygen = no fat burn. Exhale on effort!
- Arching your lower back during planks → Hello, back pain. Pull belly button to spine.
- Doing crunches like it’s 1999 → They don’t target deep visceral fat. Save your neck.
- Going 110% every single day → Burnout city. Some days are “mail it in” days—that’s okay.
- Expecting results without sleep → Less than 6 hours = 50% slower fat loss. Nap when they nap, queen.
Pro Mom Hacks I Swear By
- Set your coffee maker on a timer so it’s ready when you finish—reward system!
- Do workouts in your bra and leggings before anyone wakes up. No changing twice.
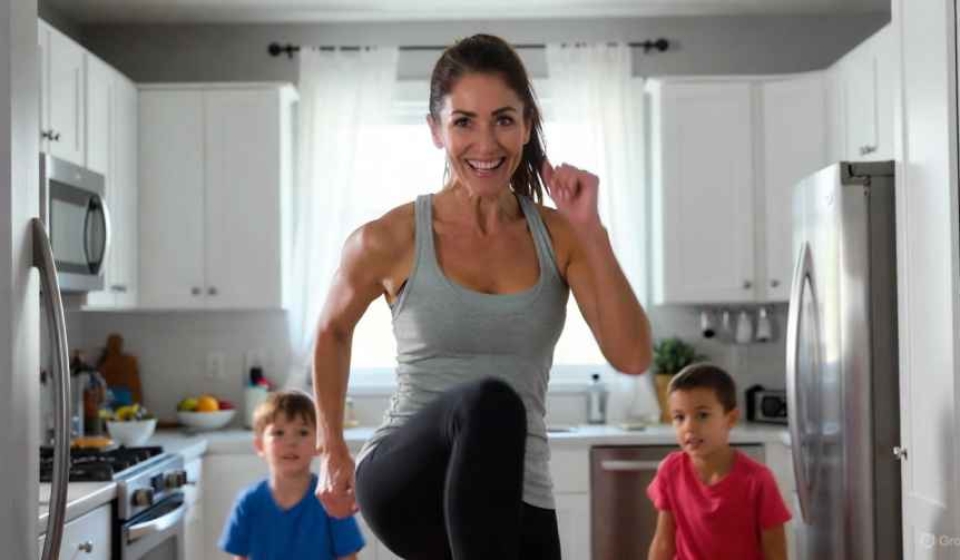
- Turn it into a game: “Mommy’s doing jumping jacks—can you count to 20?” Instant babysitter.
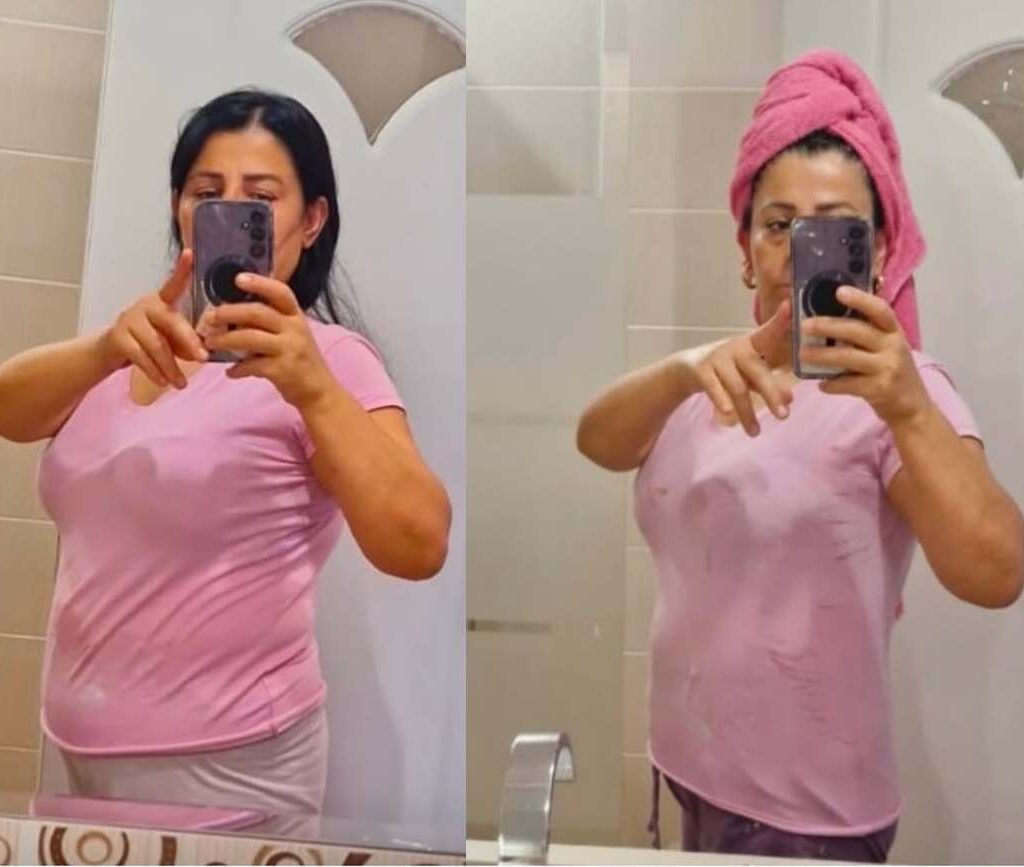
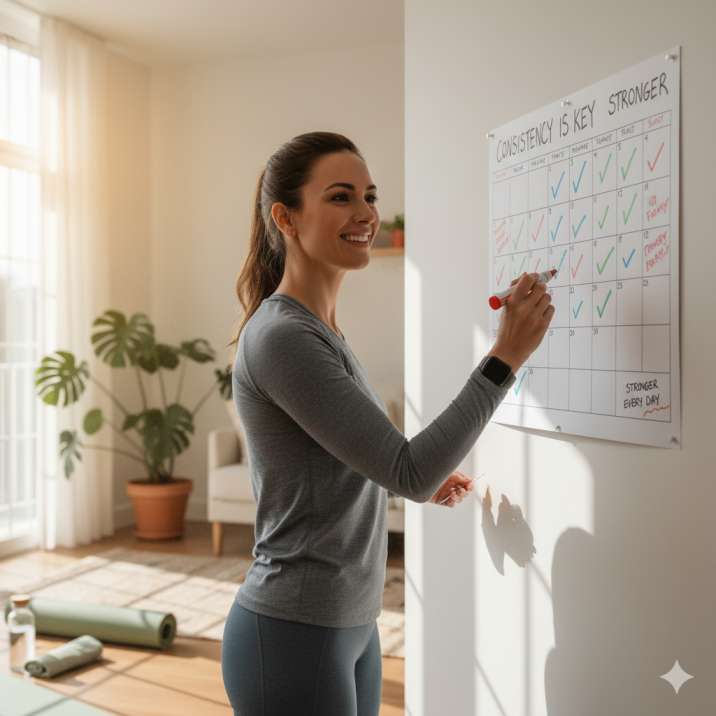
- Film yourself once a week. You’ll see progress your mirror lies about.
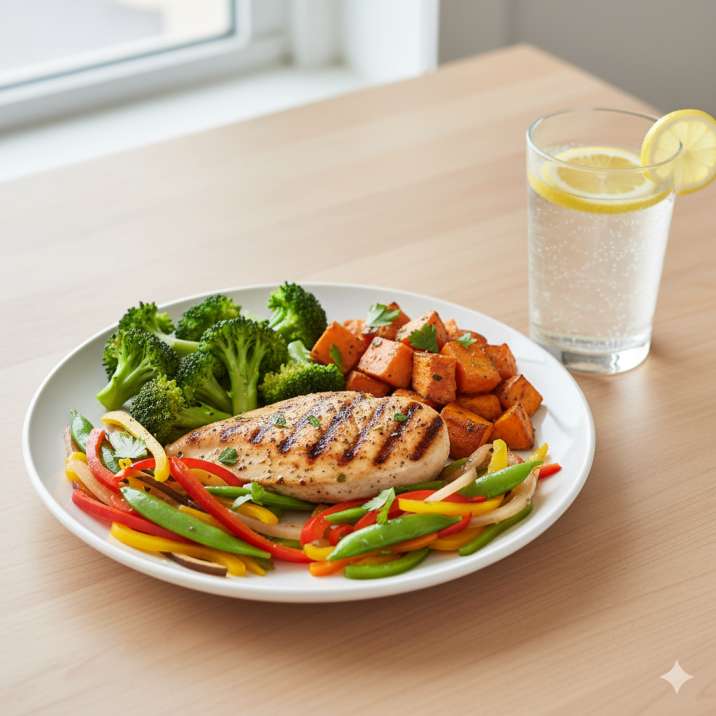
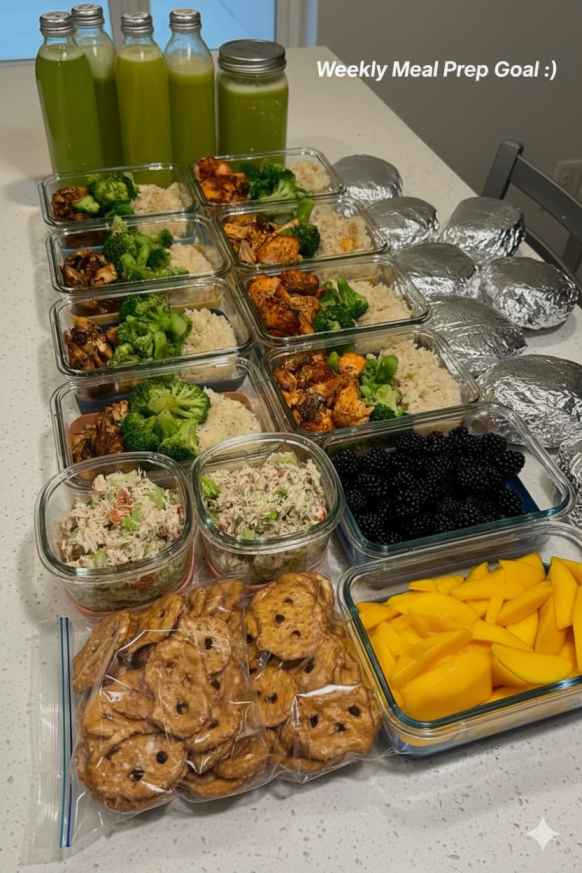
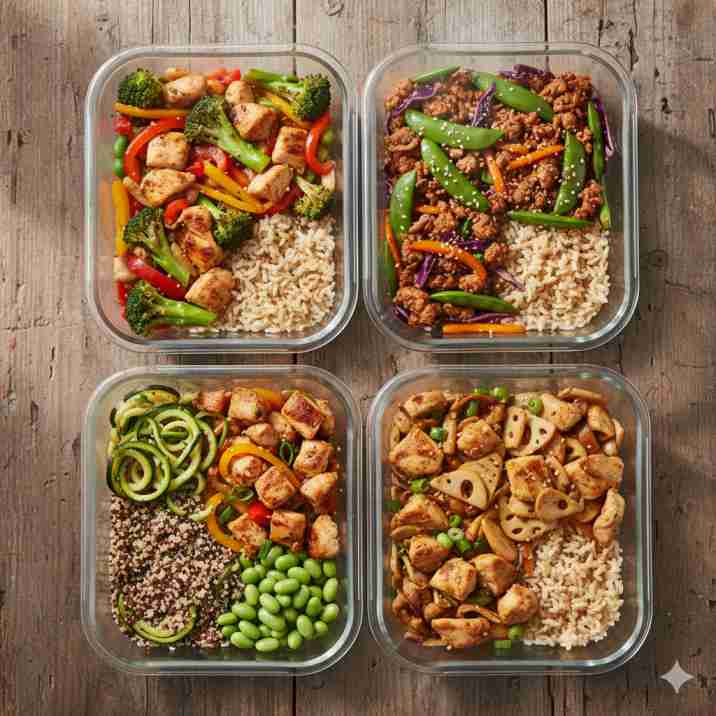
What to Eat to Speed Up Belly Fat Loss (Without Dieting Like a Influencer)
You don’t need to live on chicken and broccoli. Just add these:
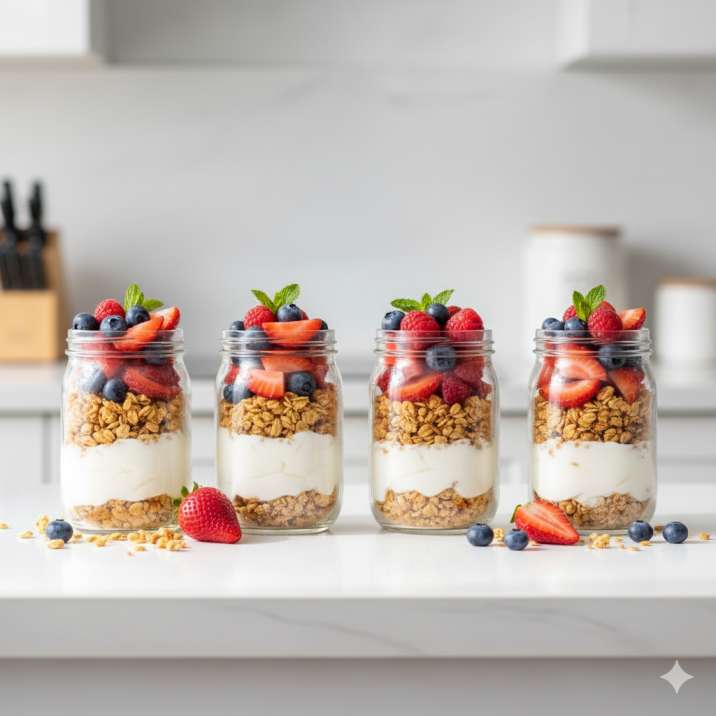
- Protein at every meal (Greek yogurt parfaits, turkey roll-ups, protein oatmeal)
- 30g fiber daily (chia pudding overnight oats = mom breakfast goals)
- One square of dark chocolate daily—because sanity.
External link: Harvard’s best foods for reducing abdominal fat
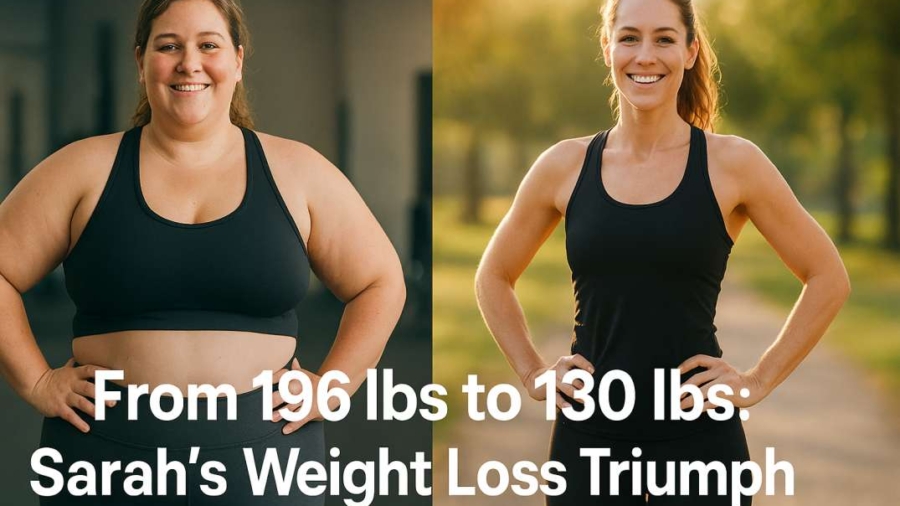
Real Results from Real Moms (Because I Know You Need Proof)
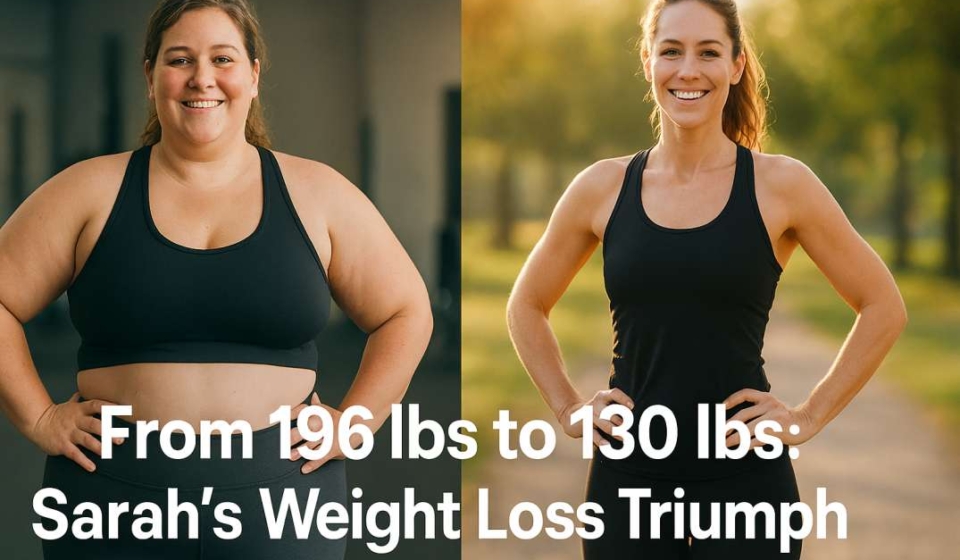
- Sarah, 38, mom of 3: “Down 3.5 inches in 6 weeks. My husband asked if I got secret lipo.”
- Megan, 34: “I did it during nap time. My postpartum pooch is GONE.”
- Me, Jennifer: 29 pounds gone, energy through the roof, and I wore a bikini on vacation without a cover-up for the first time in 7 years.
FAQ: Your Burning Questions Answered
Is Mom’s 20-Min HIIT safe postpartum?
Yes—with clearance from your doctor. Start low-impact (no jumping) and focus on pelvic floor connection. I have a whole postpartum comeback plan here.
Will I get bulky?
Girl, no. Women don’t have enough testosterone. You’ll get toned, strong, and hot.
What if I only have 10 minutes?
Do one circuit on repeat. Something is always better than nothing.
How soon will I see belly fat loss?
Most moms notice clothes fitting better in 2–3 weeks. Visible abs? 8–12 weeks with consistency.
Ready to Make 2025 the Year Your Body Caught Up With Your Badass Self?
You’ve spent years putting everyone else first. Now it’s your turn. Twenty minutes. That’s all I’m asking. Twenty minutes to feel strong, confident, and like the woman you were before motherhood tried to dim your sparkle.
Free Gift Just for You
Grab my “7-Day Mom’s 20-Min HIIT Kickstart” PDF—complete with printable tracker, grocery list, and my secret Spotify playlist that makes burpees bearable.
👇 Drop your email below and it’s yours instantly. (Over 47,000 moms already have it!)
Internal Links
- Safe Postpartum Core Exercises
- How to Fix Diastasis Recti at Home
- 30-Day No-Sugar Challenge for Moms